Executive Summary
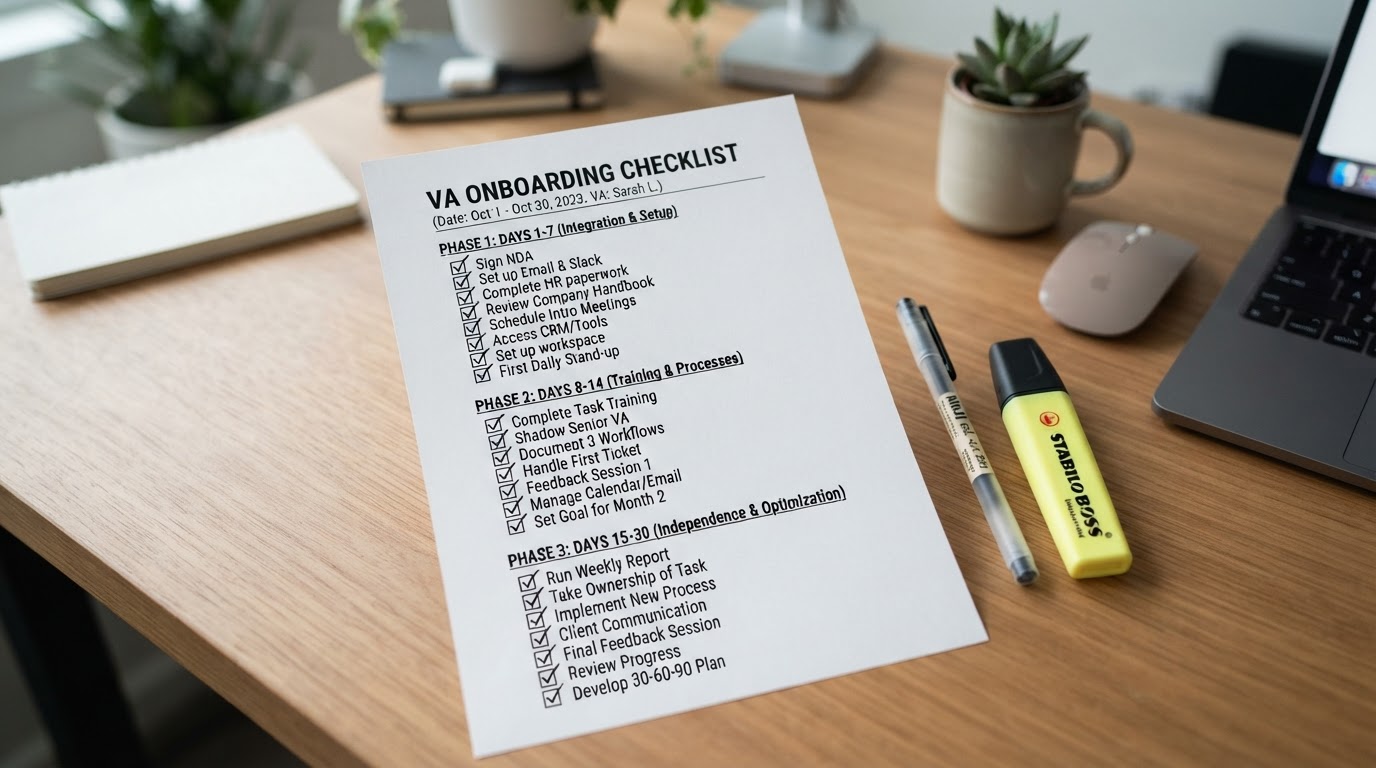
Onboarding a virtual assistant is a structured 30-day process built on five phases: ACCESS → CONTEXT → PROCESS → PRACTICE → OWNERSHIP. Before day one you set up accounts, permissions, and SOPs. Days 1–3 cover company context and priorities. Week 1 is shadowing and small supervised tasks. Week 2 introduces recurring workflow ownership with feedback loops. Weeks 3–4 build autonomy, reporting, and KPI review. Day 30 is a formal review to close gaps and refine the role. This guide includes a publication-ready onboarding checklist.
How to Onboard a Virtual Assistant Step by Step
Onboarding is where most VA relationships succeed or fail. A VA who starts with clear access, documented processes, and supervised practice becomes productive far faster than one dropped into undefined work.
For what to delegate before onboarding, see our tasks to delegate guide. For capacity, see the VA hours guide.
The ACCESS → CONTEXT → PROCESS → PRACTICE → OWNERSHIP Framework
ACCESS
Unique accounts, least-privilege permissions, password manager, tools.
CONTEXT
Company, customers, products, team, priorities, expectations.
PROCESS
SOPs, workflows, decision rules, escalation paths.
PRACTICE
Supervised execution on small tasks with feedback loops.
OWNERSHIP
Recurring responsibility with autonomy, reporting, and KPIs.
Phase 1: Before Day 1
- Create unique user accounts — never share your login.
- Set least-privilege permissions for each tool.
- Provision a password manager vault (e.g., 1Password, Bitwarden).
- Write a one-page role summary and expectations.
- Prepare SOPs for the first tasks to delegate.
- Set up communication tools (chat, video, project board).
For secure access practices, see our VA security checklist.
Phase 2: Days 1–3 — Context
- Company mission, customers, products, and services.
- Team structure and who owns what.
- Current priorities and what success looks like.
- Communication norms and response expectations.
Phase 3: Week 1 — Shadow & Small Tasks
- VA shadows you or a team member on live work.
- Assign small, low-risk tasks with clear SOPs.
- Review every output and give specific feedback.
Phase 4: Week 2 — Recurring Workflow Ownership
- Hand off one recurring workflow end-to-end.
- Establish a daily or weekly feedback loop.
- Document what the VA learns and refine the SOP.
Phase 5: Weeks 3–4 — Autonomy & Reporting
- Increase autonomy across multiple workflows.
- Introduce daily or end-of-day reporting.
- Review KPIs and adjust expectations.
For management practices after onboarding, see our manage a VA without micromanaging guide and the VA KPIs article.
Phase 6: Day 30 — Review
- Review what is working and what is not.
- Identify skill or training gaps.
- Refine the role and SOPs.
- Set goals for the next 30 days.
For the trial-period structure, see our VA trial period guide.
Publication-Ready Onboarding Checklist
- ☐ Unique user accounts created for each tool
- ☐ Least-privilege permissions applied
- ☐ Password manager vault provisioned
- ☐ MFA/2FA enabled on sensitive accounts
- ☐ Role summary and expectations documented
- ☐ SOPs ready for first 2–3 tasks
- ☐ Communication tools set up
- ☐ Company context walkthrough scheduled
- ☐ First supervised tasks assigned
- ☐ Feedback loop established (daily or weekly)
- ☐ Reporting format agreed
- ☐ Day 30 review scheduled
For SOP creation, see our how to write SOPs guide.